So you’ve purchased that compact utility or subcompact utility tractor and now need to care for it. Should you have your dealer do the work, or is the required maintenance simple enough for someone with rudimentary mechanical knowledge? Read on to learn more.
First, you’ve read your owner’s manual from cover to cover – right? Good. Your tractor may have specific maintenance intervals that you should follow, and certainly safeties you need to be aware of, so the intent of this article is to cover general maintenance that you can do yourself.
Break In
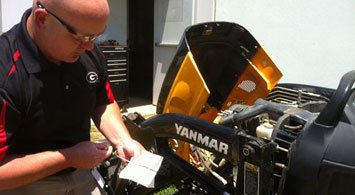
Your new tractor needs to be broken in, but before you set about doing that, it’s advisable that you check every nut/bolt for proper torque. A good dealer will have done so at the initial setup and many will use a marker on each nut/bolt afterwards to ensure none have been missed. Still, you should double check this yourself. Stress points such as loader hardware and lug nuts should fall into an annual or even semiannual check schedule.
RESEARCH: Read our series on how to shop for a tractor
 |
To seat engine valves, rings, etc., your tractor comes with a break in engine oil. Most manufacturers recommend a 50-hour use schedule before the break in oil gets changed over to a normal duty oil. The problem is that usage during this time often varies from owner to owner. Use the tractor too lightly, such as the case with many homeowners at 50 hrs, and the tractor internals are not yet broken in. Conversely, use the tractor steady duty on a construction site and those internals could be fully broken in before 50 hrs Some dealers we’ve talked to combat those differences by extending the break in period to 100 hrs for light duty users (or even changing the break in oil at 50 hrs and reinstalling break in oil for an additional 50 hrs) and for heavy-duty users doing the same except the first change will be at 25 hrs with the changeover to normal duty oil occurring at 50 hrs. We recommend checking with your dealer to help decide whether or not to vary the recommended schedule.
In your owner’s manual will be a Service Record chart for recording service dates and what was done. We strongly recommend you keep careful records of all maintenance performed. This will help keep your tractor in top running condition but also will increase salability should it become time to part with your machine.
 |
The problem we see with most manufacturer charts is that they do not cover all the maintenance areas you should be paying attention to. The following is an example of what someone clever with charting came up with, but a simple spreadsheet could work just as well.
 |
After the break in period it is important to do the recommended service and retighten/retorque every nut/bolt.
Lubrication
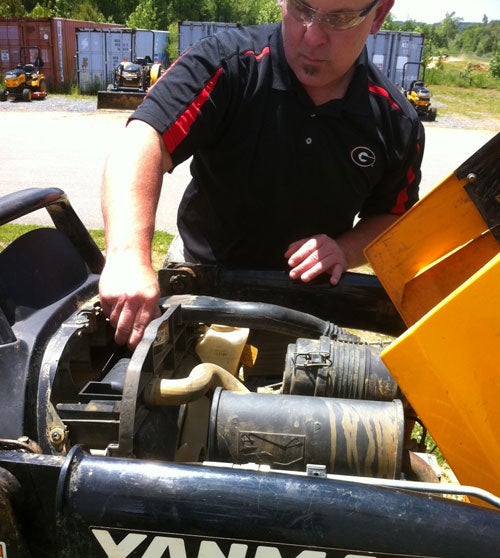
If you haven’t already, get yourself a good quality grease gun with some high quality grease rated for a wide air temperature range. A tractor has many moving points that get exposed to dusty and wet conditions and grease is your first line of defense against premature wear and failure. Steering and driveline components and mower spindles are some of the common areas that need lubrication, but don’t forget selective control valve (SCR) linkages, seat slide rails, and three-point hitch (3PH) balls and linkages.
RESEARCH: Read Woods Equipment Co. sub-compact tractor attachments
 |
Engine Oil
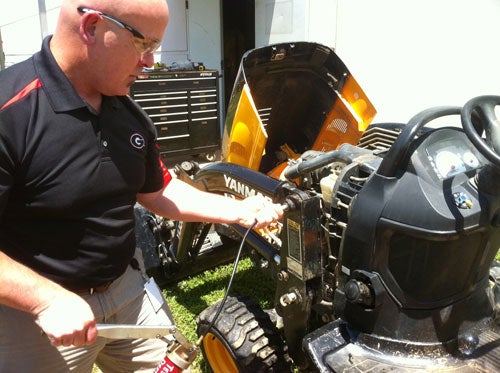
Engine oil level should be checked while cold before each use. Top off as needed, keeping the level between high-low markings. Diesel oil will darken with use so it is not an indication of condition, though we admit we change our oils more frequently than manufacturer recommended intervals for this reason. Typical oil change intervals after break in will be in the vicinity of 200 hrs. Make sure you use a manufacturer recommended oil of the proper API Service Classification and of the viscosity for the temperature range the tractor is expected to see. It may be that your region sees a wide range of temperatures and that additional oil changes such as for winter and summer use may dictate a different oil at each one. Oil changes follow a basic sequence requiring the running of the engine to warm the oil, placing of a container under the drain plug which is then opened/removed, removal and replacement of oil filter, closing/replacing drain plug, filling the engine with the correct amount of recommended oil (be sure to also put a light coat of clean oil on the filter gasket), and finally checking the oil level. Extreme conditions may warrant more frequent oil changes. If there is any question, check with your dealer for his or her advice.
 |
Air Filter
Clean air is as important to your tractor as your automobile or yourself. The diesel engines in today’s tractors are protected by multi-stage filtration. At each service interval the primary filter element should be inspected. Though the manufacturer recommended replacement intervals are often long, we’ve found foreign objects such as mice inside the filter cartridge. Replacement should be per manufacturer recommendation or when it is very dirty, damaged or the seal cracked. Secondary filter replacement is also by manufacturer recommended intervals. Replacement is as simple as removing some clips, sliding out the elements and reinstalling them, reattaching the clips.
VIEW: Read our report from the National Farm and Machinery Show
 |
Transmission
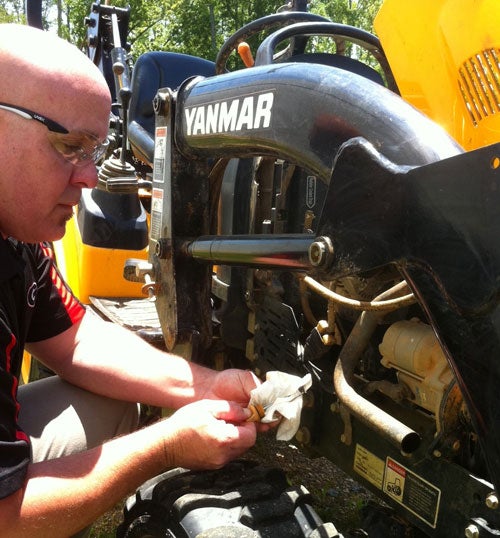
Most SCUT/CUT tractors today come with hydrostatic transmissions, so that will be the focus here. Transmission oil levels should be checked while cool with implements in the down position. This means lowering the 3PH, mid-mount mower and/or the front hitch or loader boom. Some manufacturers equip their tractors with “sight glasses” for easy fluid level check, but it is advisable to double check the dipstick on occasion. While checking hydraulic fluid levels, make sure no dirt or contaminants enter through the dipstick tube by cleaning the surrounding area first.
Oil changes should be by manufacturer recommended intervals (typically in the vicinity of 200 hrs) and require a little preparation. First, you will be dealing with quite a bit more oil than in the engine – as much as 10 gallons is not uncommon. Accordingly, you will need a pan sized to the drainage needs, sufficient replacement hydraulic fluid, replacement filter, and a pan or sink to service/clean the suction tube and screen/magnets (not all tractors will have a suction tube – refer to your owner’s manual).
Like engine oil changes, transmission fluid changes follow a basic sequence. The engine is run for a few minutes to warm the transmission fluid, then a pan is placed under the transmission and the drain plug removed (don’t be surprised at the ferrostatic pressure behind all those gallons of fluid and the accompanying spray), followed by the removal and replacement of the transmission filter. The suction tube (if equipped) is removed for cleaning with the fine mesh screen which usually has a magnet inside. This is a good time to inspect for metal shavings. If it is the first service (break in) there usually will be an accumulation. Subsequent services should have little. If metal shavings increase between services it may be an indication of excess wear that could lead to failure. After reinstalling the suction tube assembly, drain plug and transmission filter (be sure to also put a light coat of clean transmission fluid on the filter gasket), add the correct amount of recommended hydraulic fluid.
Next week we’ll cover the servicing of the MFWD axle, engine components such as fuses, battery and belts, changing engine coolant and fuel filter, mid-mount mower service, and general daily tips to help get the most out of your machine.
 Your Privacy Choices